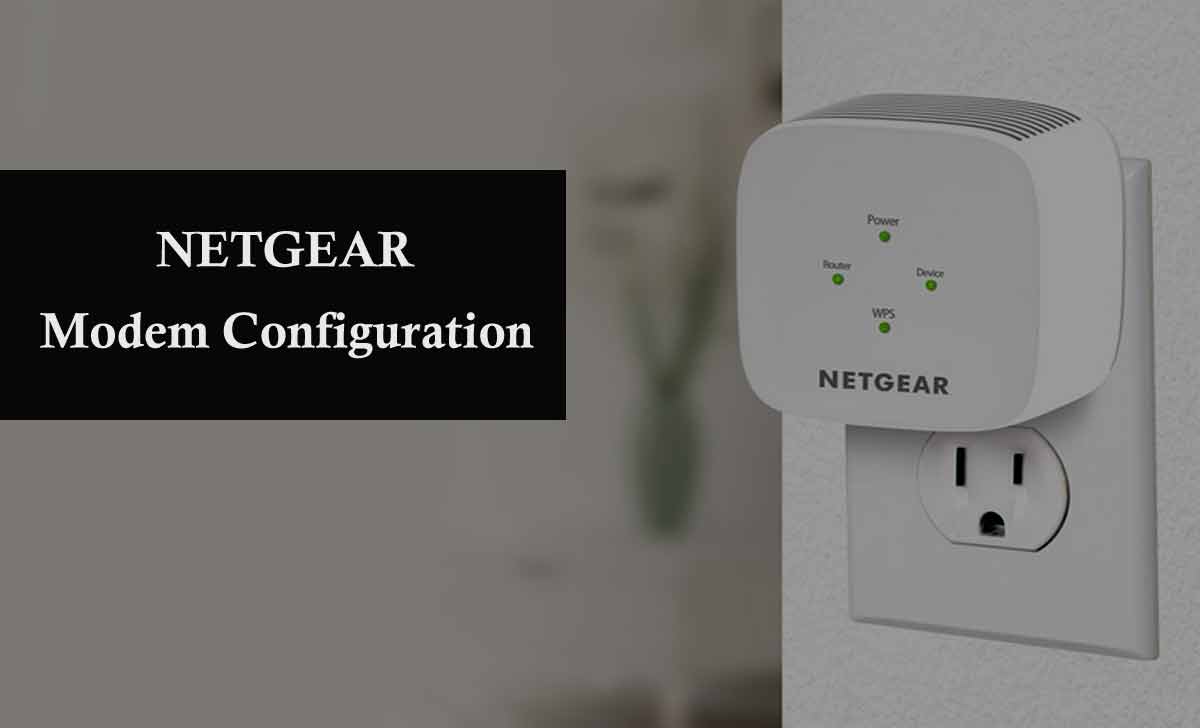
NetGear modem wireless configuration for broadband service is a simple and secure way to share your high-speed Internet connection as Wireless (WiFI) for surfing the Internet, email, online chat, even facebook, whatsapp, viber calling and many more with high speed wireless internet connection.
Mostly NETGEAR WiFi Modems can be directly connected to telephone line via router login and establish new broadband internet connection on ADSL Technology with any ISP to share the high speed internet services among several computers via Ethernet and wireless data links offered on Router.

The NetGear offers a wide range of innovative DSL routers and modem routers and also having a complete with all-in-one DSL modem and WiFi router, it is compatible with all major DSL Internet service providers and Wireless-G networks, allowing hassle-free connection flexibility in a simple way for configuration is as follows.
NetGear Modem Configuration
- Open browser and hit the IP address 192.168.0.1
- Enter the user id as admin and password as admin
- After successful login click on Setup and then Basic Settings
- Select Yes in Does Your Internet Connection Require a Login,
- Select the Encapsulation as PPPoE (PPP over Ethernet)
- Enter Login value (user id issued by BSNL/Other Service Provider)
- Enter Password (password issued by BSNL/Other Service Provider)
- Name the Service as BSNL or Other
- Click on Apply
- Click on Setup, then ADSL Settings
- Select Multiplexing Method LLC Based
- Enter VPI as 0 and VCI as 35
- Set DSL Mode as Auto(Multi Mode)
- Click on Apply and Save the router/modem.
How to Setup NetGear WiFi
- Complete all the steps as mentioned for Wireline, and after that Click Setup and select Wireless Settings
- Click Wireless Network and Name the SSID as BSNL (or) Other Service Provider or as desired by you
- Select Region Asia
- Channel Auto
- Mode G & B
- Select Wireless Access Point
- Enable Wireless Access Point and Click Allow
- Click Broadcast of Name(SSID)
- Click Security Options
- Select WPA-PSK (Wi-Fi Protected Access Pre-Shared Key)
- WPA-PSK Security Encryption
- Enter Network Key(8~63 Characters) as your choice
- Click on Apply
So the above detailed step by step guide for NETGEAR WiFi Modem/Wireless Broadband Modem cum router configuration will be surely works, if you also have any doubts, please ask through comments. The above is the common process, where you can go through detailed setup process for each different router at below.
Can all the Netgear modems having the same IP address to login?
All the Netgear Modems are allowed on the same IP address 192.168.0.1 for configuration of various services.
Netgear Router not connecting, What to do?
Please clear the cache and cookies in your browser and even try to restart the browser again or restart the PC and Netgear modem if possible.